

Our staff at Western States Metal Roofing consists of employees who have experience selling and installing metal roofing. Our goal in this article is to take our 25 years of experience and share that knowledge. We want to make it easy to install the synthetic underlayment on your metal roof so that you don’t get stuck with a leaky roof.
Our goal in this article is to explain:
- Tools that are required
- Preparation of the roof
- Step by step installation guide
If you enjoy this article then we recommend that you read this article also: What Roofing Underlayment Should I Use? (Felt v. Synthetic)

Tools For Installing Synthetic Roofing Underlayment
- Roofing hammer
- Roofing gloves
- Utility knife
- 1.25" electrogalvanized roofing nails
A successful installation starts with using the right tools for the job. This will decrease the amount of time it takes to install the synthetic underlayment, lessen the likelihood of injury, and decrease the chance of your roof leaking.
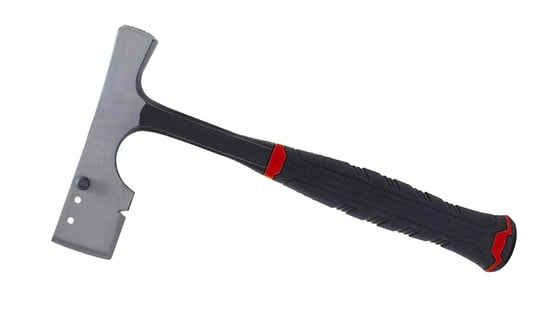
Roofing Hammer
A Roofing Hammer is a specialized tool that is designed to help roofers cut shingles and drive nails into them. It's a unique kind of hammer because the face is magnetized which helps the roofer hit the nail and also pick up stray nails. The handles are designed to protect from the shock of hammering and minimize vibration.
Roofing Gloves
Roofing gloves should be cut-resistant to protect against sharp edges.
Utility Knife
A Utility Knife will be needed to cut the synthetic underlayment.
1.25" Electrogalvanized Roofing Nails
1.25” Electrogalvanized roofing nails, also known as EG roofing nails, is a type of nail designed to help resist rust and corrosion.
You should always be conscious of dissimilar metals. This can cause the metal to corrode and it will lessen the longevity of the metal roofing panel. For example, you should not use EG nails on a roof that is aluminum, copper, or Corten.
Preparing The Roof For Synthetic Underlayment
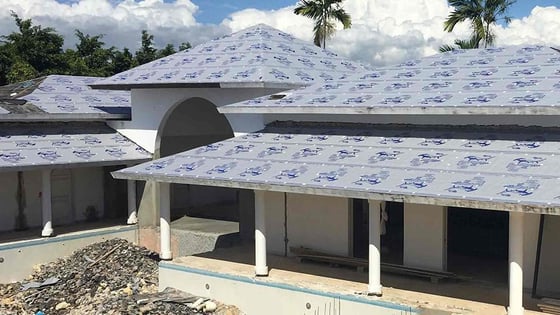
Before installation of synthetic underlayment, you need to prepare your roof. Make sure that the roof is clear of dust, debris, and any protruding nails or staples.
Measure your roof so you can order the correct amount of Sharkskin Comp, Sharkskin Ultra, or Sharkskin Ultra SA.
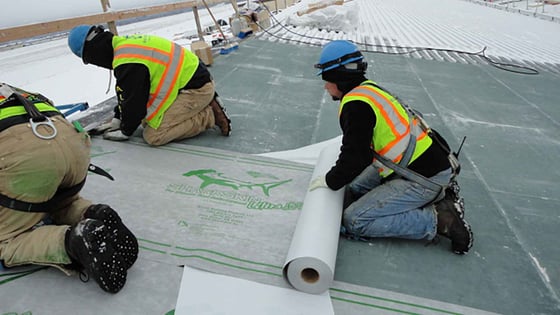
How To Install Synthetic Underlayment On A Metal Roof
You should always read the manufacturers recommended procedures prior to installation. It’s also important to be in compliance with local building code requirements.
Here is your step by step guide to install synthetic underlayment.
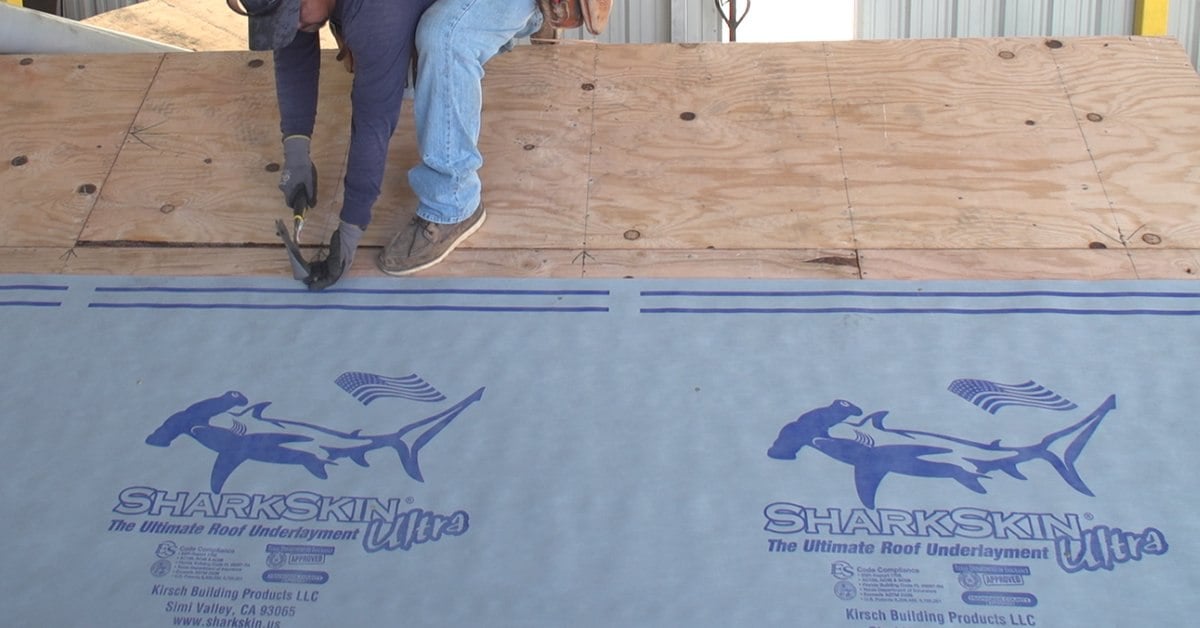
- Begin synthetic underlayment installation with the lowest section of the roof.
- Install the synthetic underlayment over any part of the fascia that will be covered by metal eave or gable flashing.
- How to fasten the top section of the roofing underlayment.
- Fastening synthetic roofing underlayment along the fascia.
- Fold the underlayment at the fascia corner and fasten with an EG nail.
- Fastening the center of the synthetic roofing underlayment.
- Overlapping synthetic roofing underlayment.
- Overlap should run with the flow of water.
- Fastening the overlap of the underlayment.
- Roll underlayment horizontal to the fascia.
- Underlayment should cover the height of the flashing. This will increase the longevity of the fascia wood.
- EG nails along the blue guidelines at 24” O.C.
- Place EG nails along the center of underlayment in a staggered pattern at 24” O.C.
- The second piece of underlayment lays on top of the first piece. Line up the blue lines of the underlayment. The logo can face up or down.
- If the underlayment is not installed as shown in the images then it will leak.
- EG nails should be placed along the seam at 24” O.C. along the outer blue guideline.
- Continue fastening underlayment along fascia at 12” O.C.
- Cut off any remaining underlayment with a utility knife.
Do You Need Synthetic Underlayment?
At Western States Metal Roofing we have a large selection of synthetic underlayment for sale. Our experts will help you choose the correct underlayment based on the specifications of your roof. In addition, we offer metal roofing and wall panels with inexpensive delivery anywhere within the United States. Our goal is to save you money while providing excellent customer service.