

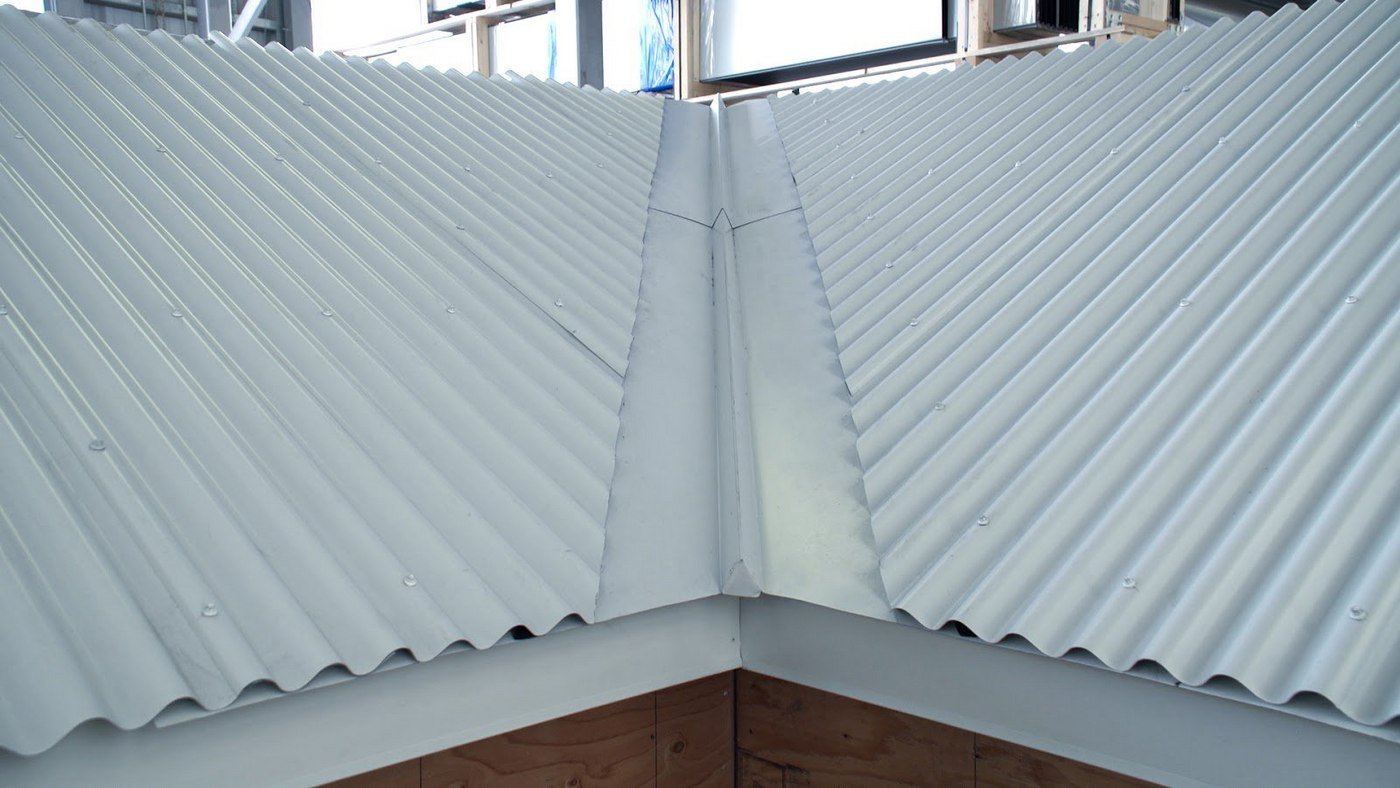
On a metal roof, a valley is formed by two intersecting slopes. Installing valley trim to this area of your roof prevents water from traveling up the opposite slope and penetrating your roof. Without the trim, water can easily become trapped with snow, leaves, and other debris.
Valley trim is an integral part of keeping your roof watertight, and even the most expensive materials won’t protect your roof from water penetration if it isn’t installed properly. Here you will find all the steps you need to ensure your valley trim is properly installed to protect your metal roofing.
In this article we will cover:
- What Is Valley Trim?
- How Much Does Valley Trim Cost?
- Required Tools And Supplies
- Valley At Eave Installation
- Valley At Ridge Installation
- Fastening Valley Trim
- Overlapping Valley Trim
Before you begin with your valley trim, remember that roofing underlayment is a crucial part of any metal roofing system. Prior to installing your valley trim, make sure that proper underlayment has been placed. At Western States Metal Roofing, our goal is to make your installation as easy as possible.
It’s also important to review the manufacturer's installation guide that is designed to help you install your valley trim on your metal roof.
What Is Valley Trim?
Valley trim is a raised section at the lowest point of the valley that's designed to keep water from moving up the opposite slope and penetrating the roof. Valley trim is installed prior to the installation of the metal roofing panels. The valley of a metal roof is an area created by two intersecting slopes.
How Much Does Valley Trim Cost?
The cost of the valley trim will depend upon the gauge, type of paint finish, and the size of the valley trim. On average valley trim will cost $3 to $6 per lineal foot.
What Tools And Supplies Are Required For Valley Trim Installation
- Metal Cutting Snips
- Carpenter’s Pencil
- Hammer
- Roofing Gloves
- Caulking Gun
- Silicone Sealant
- #10 x 1” Pancake screws
When measuring your valley length, you will need to account for a minimum 1” overhang and 12” for overlaps. A minimum of 3” will also be needed for ridge prep.
How To Cut And Finish Valley Trim At The Eave Of A Metal Roof
- Valley trim installation should begin at the eave end of your roof.
- Place the lower valley trim in your desired position. NOTE: Don’t forget to account for an overhang minimum of 1”.
- With your carpenter’s pencil, outline where the valley intersects with the eave end of the roof.
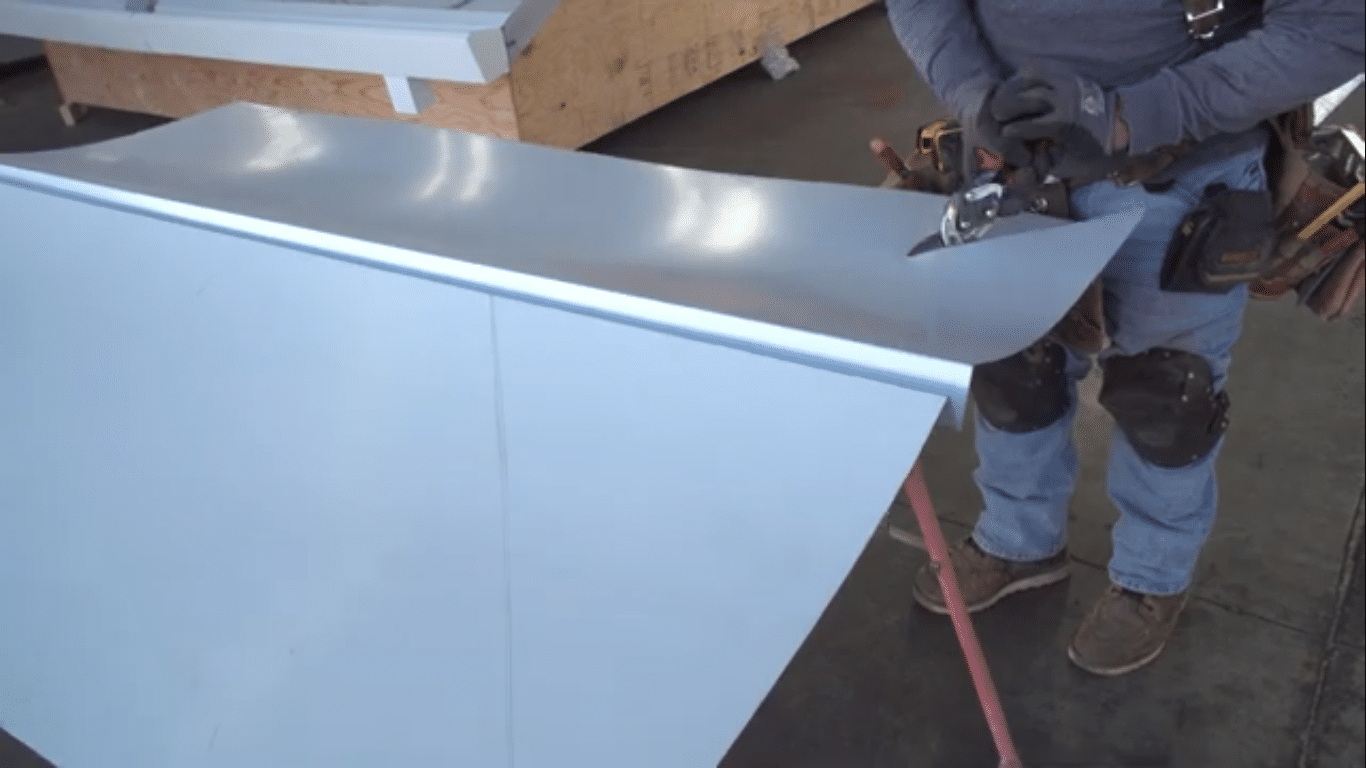
- With your snips, cut along the outline, stopping your cut at the seam of the valley.
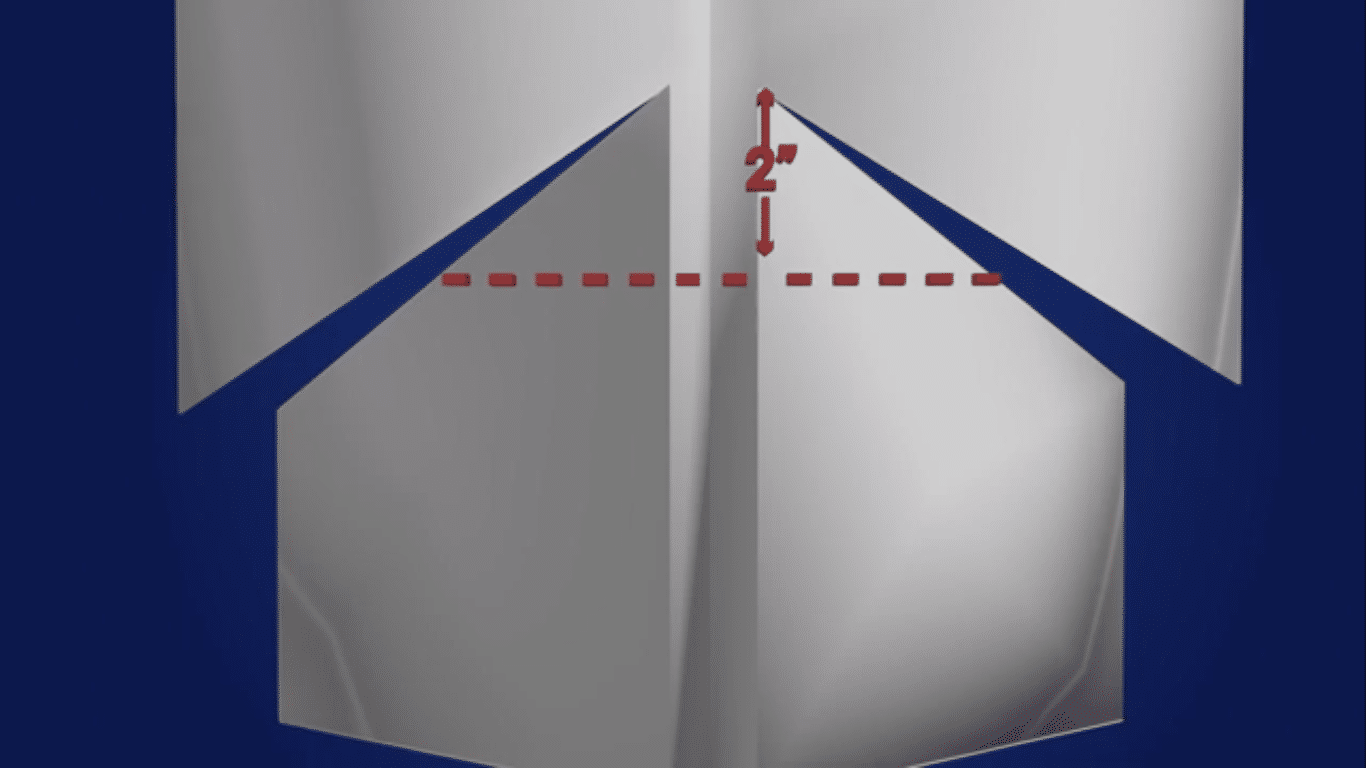
- Next, measure 2” from the top of your outline and make a straight cut through the seam. TIP: Pulling the flaps up will help make cutting easier.
- Mark a 90 degree line on both sides of the seam.
- Notch cut directly in the middle of the seam to your line.
- Remove both flaps of the valley.
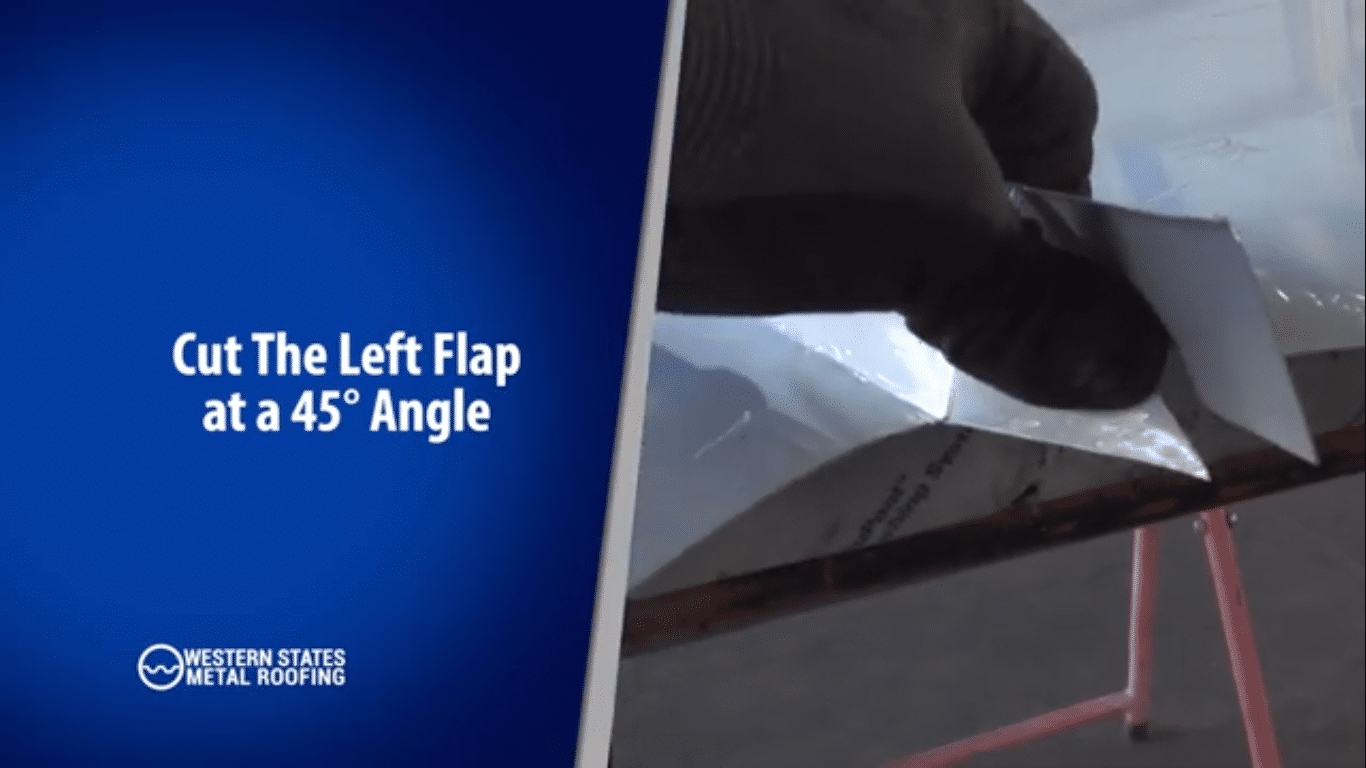
- Cut the left flap at a 45 degree angle. TIP: You may need to trim as needed to get a tight fit.
- With your hammer, lightly tap the left flap inward at a 90 degree angle.
- Next, use your hammer to fold the right flap inward at a 90 degree angle.
- Trim the flap to allow it to fully bend at 90 degrees.
- Cut flap along the valley seam
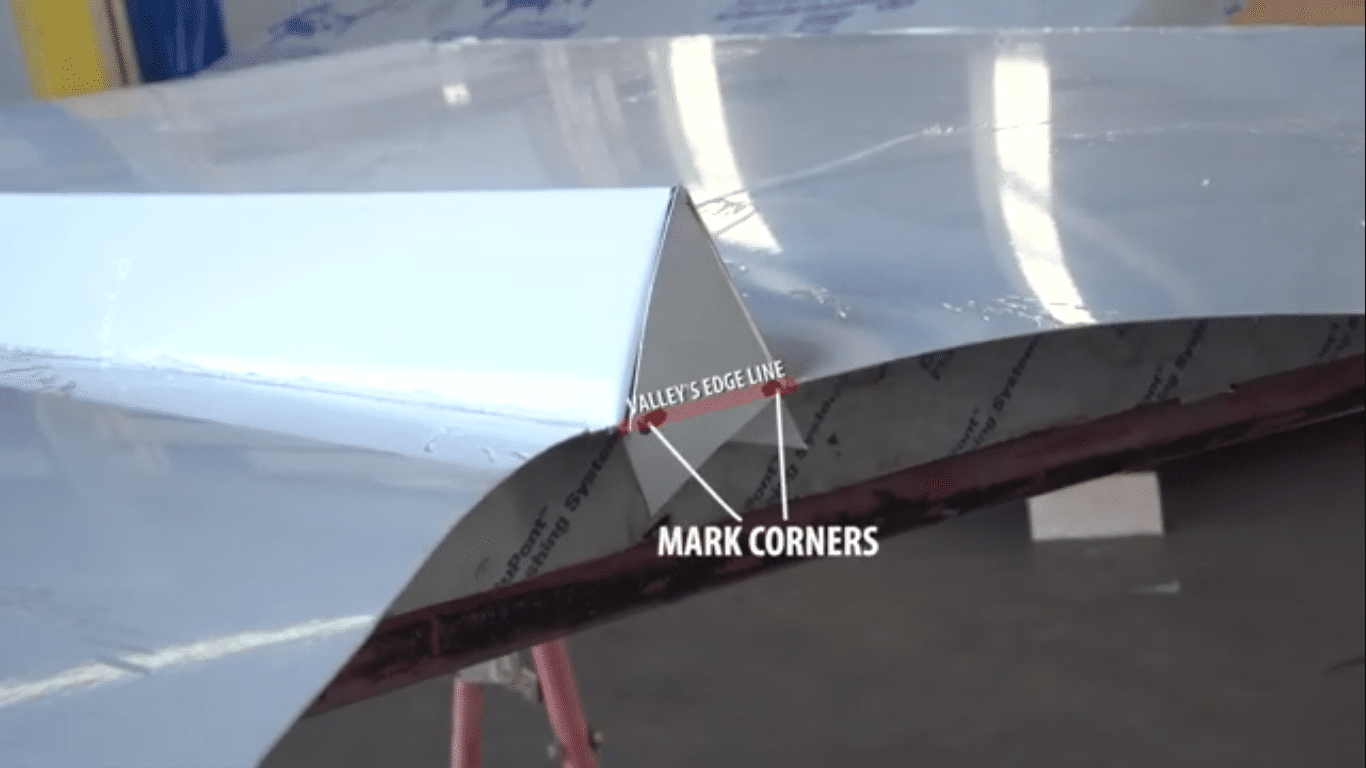
- Mark the corners of the flap where they intersect with the valley edge line.
- Using this mark as your guide, cut off the excessive flaps.
- Using your hammer, tap inward 90 degrees.
Just in case you are more of a visual learner we created a step by step installation video. A lot of our customers will watch the open valley installation video and print the blog to help them during the valley trim installation.
How To Cut And Finish Valley Trim At The Ridge Of A Metal Roof
- Lay Valley at the ridge and begin tracing the top outline.
- Measure the height of your valley’s seam.
- Based on that height, mark the center of your seam.
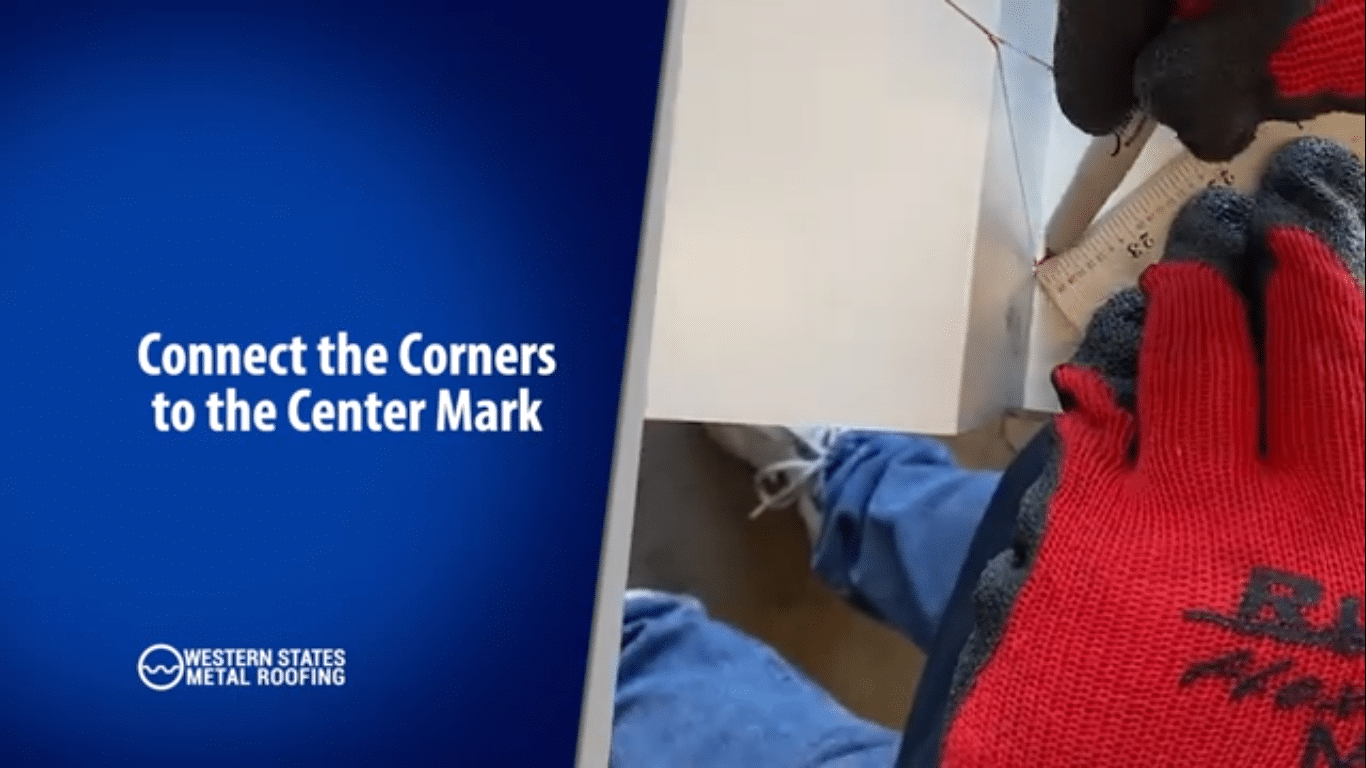
- Connect the corners to the center of your mark.
- Draw a straight line down the seam to your 2 inch mark.
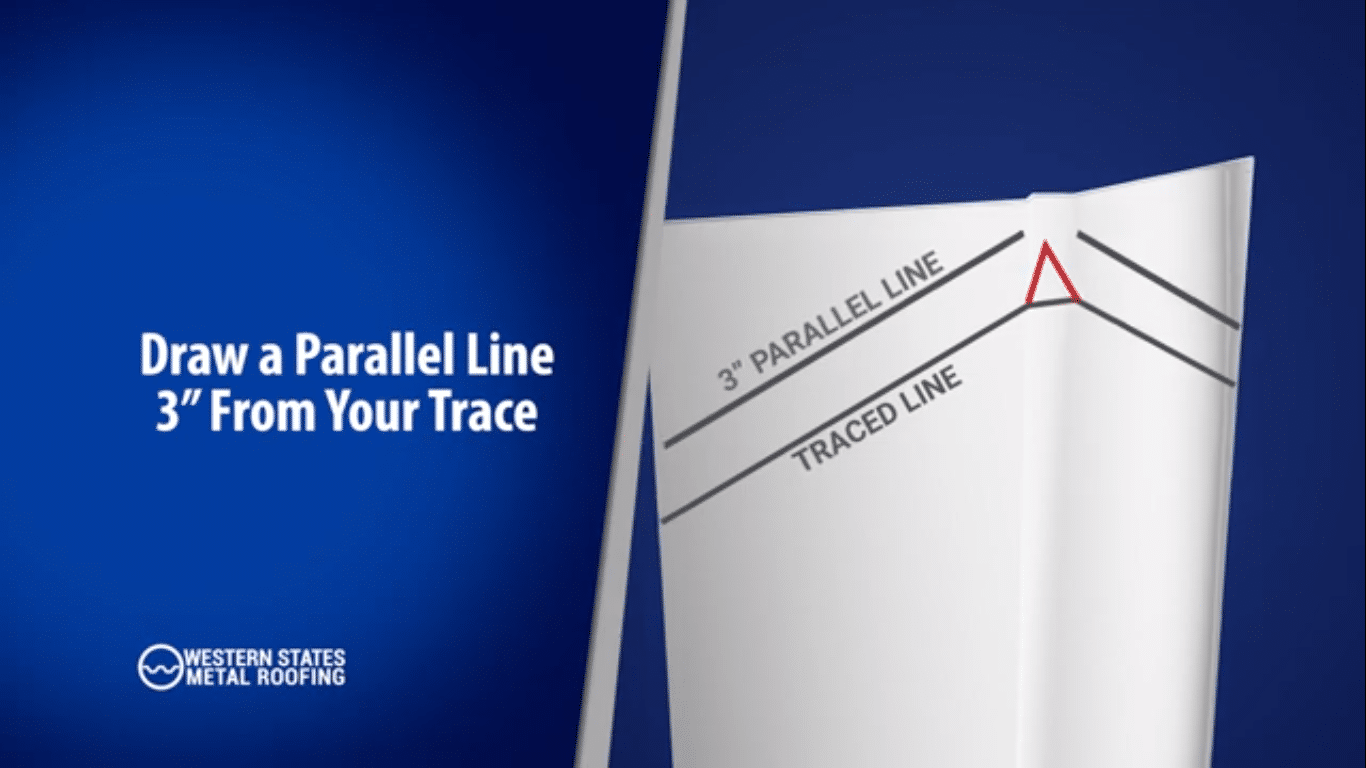
- One each side of the valley, draw a parallel line 3 inches to your trace.
- Setting your protractor to 90 degrees, mark a straight line from the seam edge to the valley edge.
- Repeat this process for the opposite side.
- Sections you will remove are highlighted red below:
- Using your metal snips, begin cutting the outer section
- Cut straight down the center of the seam.
- Use a drip edge hemming tool and begin folding the flaps based on the pitch angle of your roof.
- Using a hammer, tap down both seam flaps at a 90 degree angle.
How To Fasten Valley Trim On A Metal Roof
- Place the valley in the correct position. NOTE: Do not forget to account for a minimum 1” overhang.
- Prior to fastening valley trim, be sure to remove all protective plastic from your valley.
- Silicone sealant should be placed 1” from the eave trim edge where the valley will overlap.
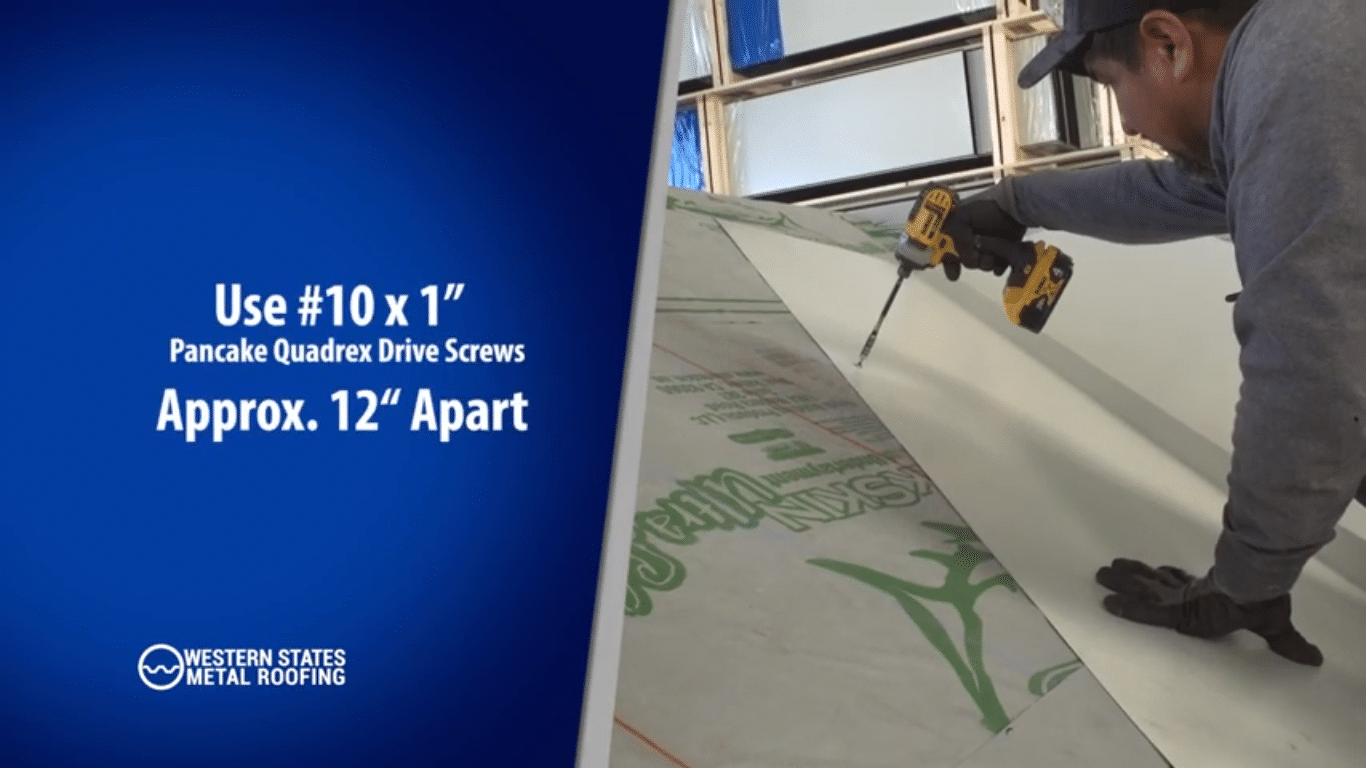
- Secure your valley using your 10# x 1” pancake screws approximately 12” apart and 1” from the edge.
- On the eave end of the valley, cut off your short corners by removing the 1” tabs on each side.
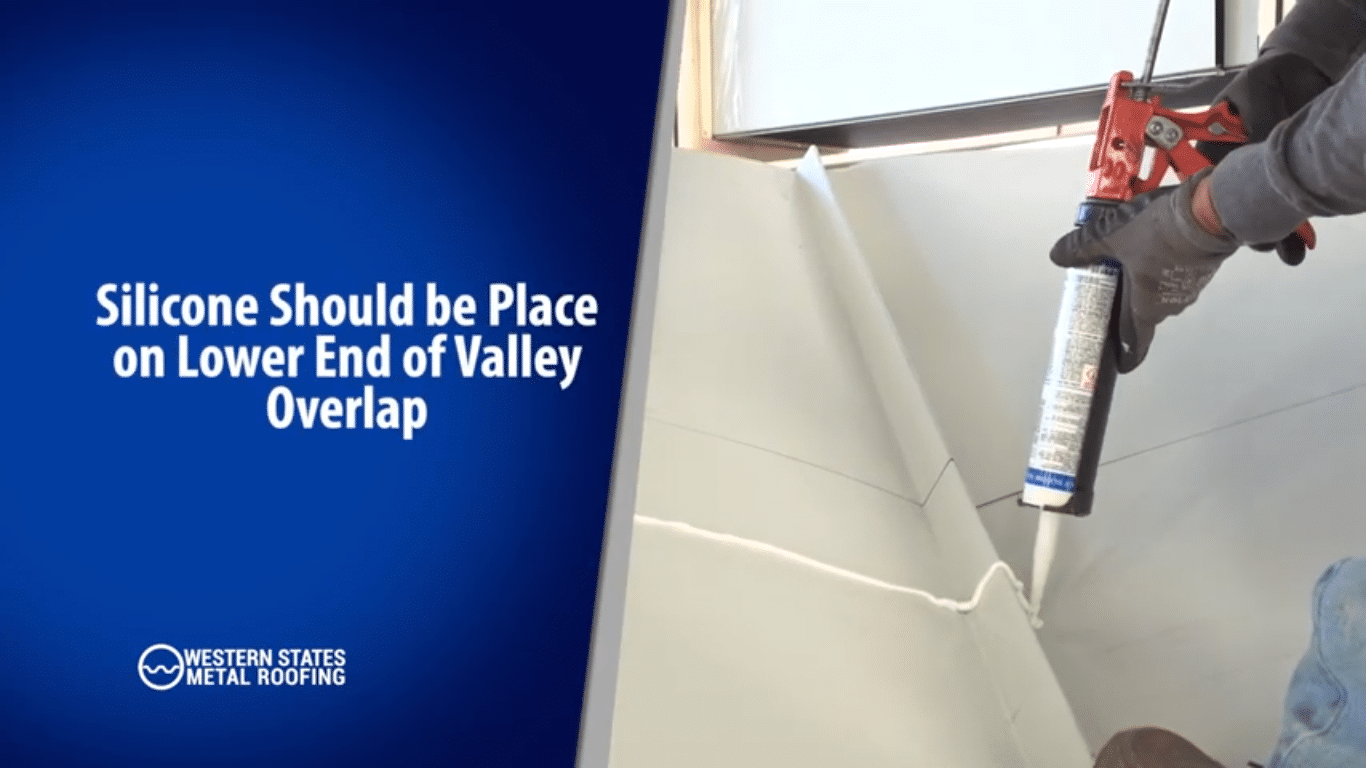
How To Overlap Valley Trim On A Metal Roof
Before overlapping, remember that your valley should be overlapped a minimum of 12”. To overlap:
- When overlapping the valley trim, silicone should be applied 1” from the bottom of the valley overlap.
- Secure overlap with your 10# x 1” pancake screws. Locate screws 12” O.C.
- Your valley is now ready to be chalked and prepped for rooftop installation.
If this video helped you check out our YouTube Channel for more step by step installation videos.

